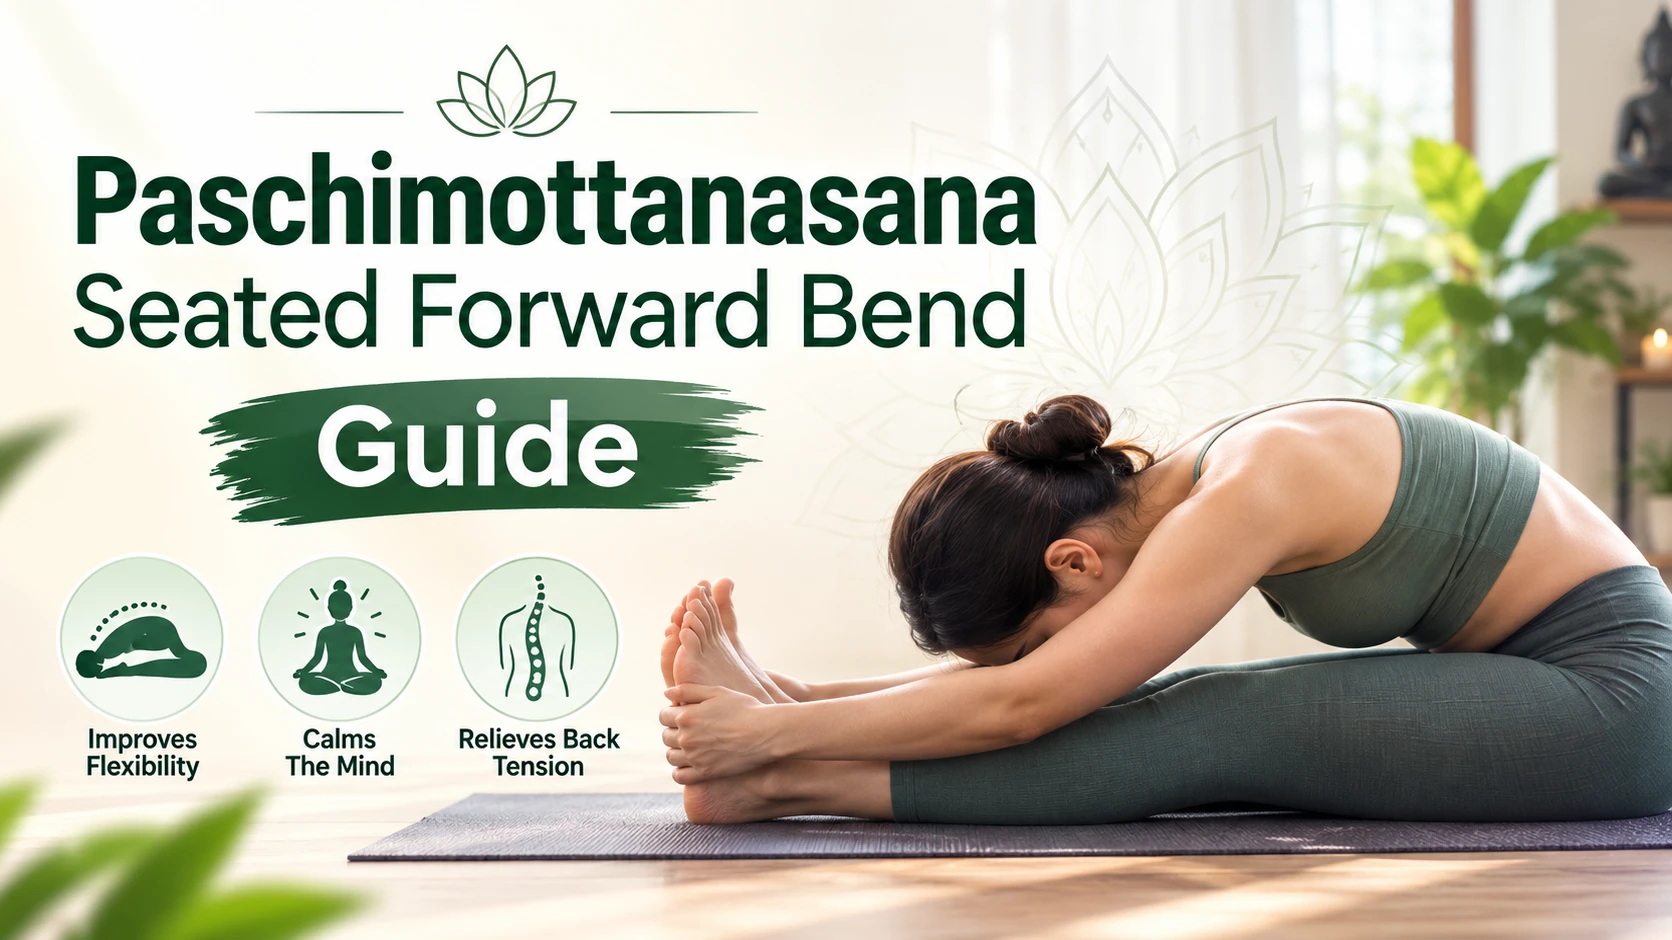
Paschimottanasana (Seated Forward Bend): 7 Proven Benefits, Step-by-Step Alignment, & Modifications
What Is Paschimottanasana and Why Is It Important?
Paschimottanasana (pah-shee-moh-tahn-AHS-uh-nuh) derives its name from four Sanskrit roots: paschima (meaning west or back of the body), uttana (meaning intense stretch), and asana (meaning posture). In traditional yoga philosophy, the front of the body is referred to as the east, while the back body—from heels to head—is the west. Thus, Paschimottanasana translates to the "Intense Back--Body Stretch."
Modern sedentary lifestyles involve long hours seated at desks, which shortens the hamstrings, tightens the hip flexors, and compresses the lower back. Paschimottanasana directly counteracts these postural imbalances by extending the hamstrings, mobilizing the lumbar and thoracic spine, and encouraging deep diaphragmatic breathing. Beyond physical mechanics, the introverted nature of the forward fold stimulates the parasympathetic nervous system, shifting the body out of a stress response into a state of deep rest and digestion.
How Do You Perform Paschimottanasana Step by Step?
Executing Paschimottanasana with precision protects the hamstring attachments at the ischial tuberosities (sit bones) and prevents lumbar disc compression. Follow these five alignment steps:
Step 1: Establish Your Base (Dandasana)
Sit upright on your yoga mat with your legs fully extended in front of you. Flex your feet firmly, drawing your toes back toward your shins. Root your sit bones evenly into the floor. If your lower back rounds, sit on the edge of a folded yoga blanket to tilt your pelvis forward.
Step 2: Length Before Depth
Inhale deeply and extend both arms overhead to lengthen your torso. Focus on lifting out of your waist and broadening your chest, creating maximum vertical space along the spine before initiating any forward flexion.
Step 3: Hinge From the Hips
Exhale as you fold forward. Crucially, initiate the movement by hinging directly from your hip joints rather than rounding through your middle or upper back. Imagine bringing your lower abdomen to your upper thighs first, followed by your chest, and finally your forehead.
Step 4: Secure Your Grip Softly
Reach forward to catch your big toes with your index and middle fingers, hold the outer edges of your feet, or clasp your wrists behind your soles. If your hands do not reach comfortably without rounding your spine, loop a yoga strap around the balls of your feet and hold the strap with straight arms.
Step 5: Hold, Breathe, and Release
Hold the posture for 30 to 60 seconds (5 to 10 slow, rhythmic breaths). On every inhale, lengthen your sternum forward; on every exhale, surrender slightly deeper into the fold without pulling forcefully. To release, inhale, reach your arms forward, lift your torso with a flat back, and return to an upright seated position.
What Are the Key Health Benefits of Paschimottanasana?
Regular, mindful practice delivers targeted physical and mental benefits:
Deep Posterior Stretch: Extends the entire back line, targeting calves, hamstrings, glutes, and spinal muscles.
Aids Digestion: Gentle abdominal compression massages the stomach, liver, and kidneys to support digestion.
Calms the Nervous System: Down-regulates stress response to lower heart rate and soothe mild anxiety or fatigue.
Relieves Spinal Tension: Creates space between vertebrae to increase circulation and ease lower back stiffness.
Eases Pelvic Discomfort: Gentle, supported folds help alleviate menstrual cramps and pelvic tightness.
Safety Precautions and Contraindications
Modify or avoid Paschimottanasana under the following conditions:
Disc Herniation / Bulging Discs: Avoid deep forward flexing; keep your spine strictly flat or bend your knees to protect your lower back.
Hamstring Tendinopathy / Tears: Keep a micro-bend in your knees to prevent strain near the sit bones.
Pregnancy (2nd & 3rd Trimester): Avoid face-down abdominal compression; choose wide-legged folds (Upavistha Konasana) instead.
Respiratory Distress or Severe Asthma: Keep your chest lifted and open rather than folding completely flat.
What Are the Most Common Mistakes in Paschimottanasana?
To maximize the benefits of your practice and prevent chronic strain, avoid these common technical errors:
Rounding the Upper Spine (Hunching): Pulling from the shoulders to force the head down toward the knees rounds the thoracic spine and compresses the chest, missing the hip hinge entirely.
Yanking with Arm Force: Forcing the fold using aggressive arm strength over-stretches hamstring tendons at their attachment points and creates neck strain.
Collapsing the Knees Inward: Leaving the feet limp allows the legs to rotate inward or outward uncontrolled. Keep your knees pointing straight up and feet actively flexed.
Holding the Breath: Tensing up and holding your breath triggers a fight-or-flight muscular reflex, preventing the hamstrings from relaxing. Maintain smooth, steady breathing.
Frequently Asked Questions (FAQs)
1. Can beginners with tight hamstrings do Paschimottanasana?
Yes. Beginners should sit on a folded blanket to elevate their hips, bend their knees slightly, and use a yoga strap around the balls of their feet to maintain a long, straight spine without forcing depth.
2. How long should I hold Paschimottanasana during a yoga practice?
Hold the posture for 30 to 60 seconds (roughly 5 to 10 deep breaths). Advanced or restorative practitioners may hold supported variations for 2 to 5 minutes to release deeper connective tissue.
3. Should my knees be completely straight in Paschimottanasana?
Not necessarily. While the traditional posture shows straight legs, keeping a slight micro-bend in the knees is recommended if your hamstrings or lower back feel tight, as this protects the lower back from rounding.
4. Is it okay if my lower back rounds slightly in Paschimottanasana?
A natural, mild curve near the very end of the fold is acceptable for flexible practitioners, but beginners should focus on hinging from the hips with a flat spine to protect their intervertebral discs.
5. What is the best time of day to practice Paschimottanasana?
It can be practiced anytime, but morning practice requires extra caution and props since hamstrings are naturally stiffer. Evening practice yields deeper flexibility and helps unwind stress before sleep.
6. Why do I feel a sharp pain behind my knees in Paschimottanasana?
Sharp pain behind the knee indicates over-stretching of the hamstring tendons or sciatic nerve tension rather than a safe muscle stretch. Immediately bend your knees to soften the joint and back out of the pose slightly.
Conclusion
Paschimottanasana is far more than a simple hamstring stretch; it is a fundamental posture that restores natural structural balance, relieves back stress, and quietens a busy mind. By prioritizing hip-hinging mechanics over vertical depth, using props like blankets and straps, and respecting your body's physical boundaries, you can safely enjoy the therapeutic advantages of this posture. Integrate Paschimottanasana into your regular movement routine to build long-term flexibility, protect your spine, and support mental calm.

.png)
.png)
Discussion (0)
No comments yet. Be the first to comment!
Leave a Comment
You need to login to post a comment.